| Christmas tree DIY colorful flashlight electronic practice handmade kit Christmas gift ornaments for Christmas |
Features:
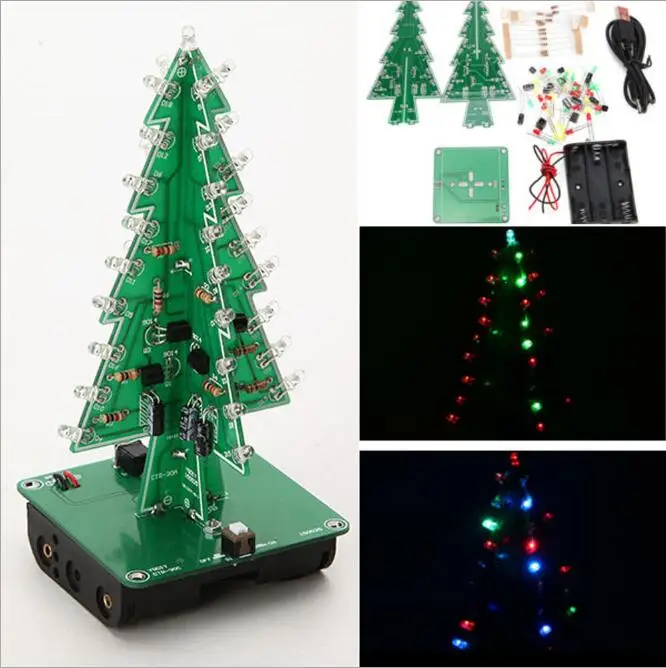
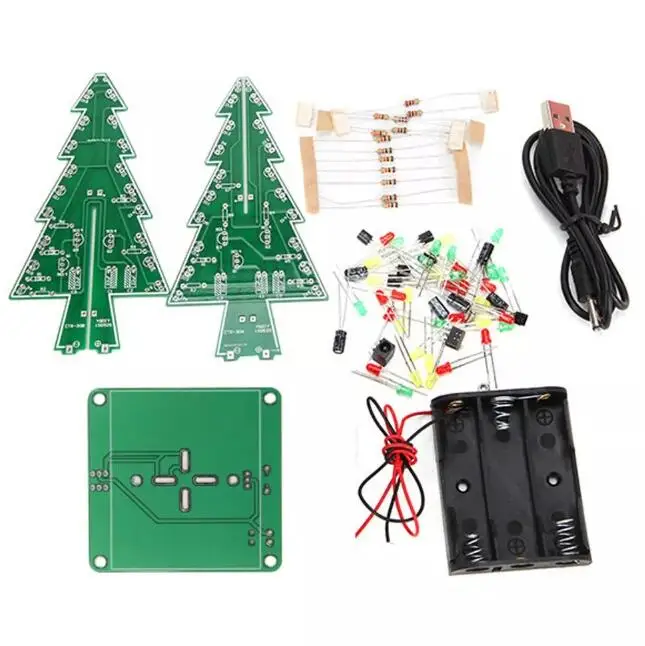
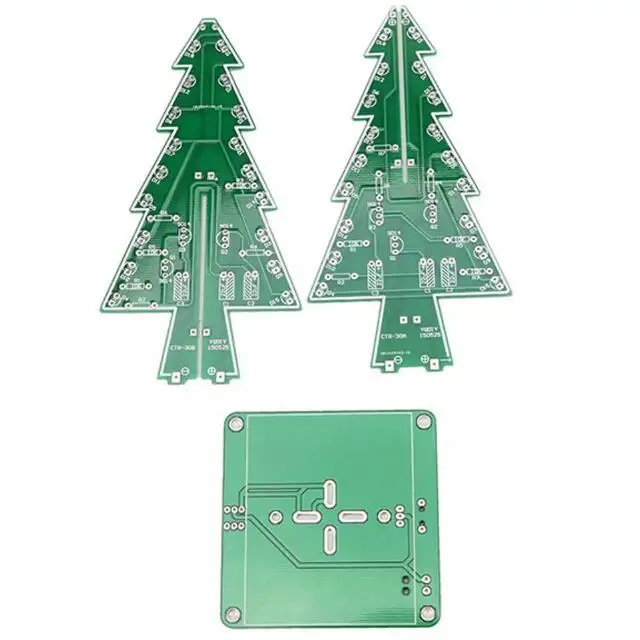
The small Christmas tree kit is composed of two light boards and a light board base, forming a tree-like shape. The LEDs on the two light boards flash alternately on the tree-shaped board, which has a very beautiful effect. This kit can exercise the welding ability very well, and it is a good choice for you to enjoy it and give it as a gift.
Common problem:
1. The light does not turn on after welding, this is not the quality of the LED. You can use button battery 2032 to test the LED before welding. The test voltage is 3.0-3.5V and the current is about 20ma. 3.5V, dry batteries, mobile phone batteries, power bank batteries, etc. cannot be used. After we welded 50 sets of tests, the reasons for the lamp failure are the static electricity of the soldering iron damage the LED, the soldering burns the LED, and the bending pin damages the LED. If it goes smoothly, there will be also two lamps that do not light up, you can replace them with the two or three more we give. Beginners can buy more spares in the store!
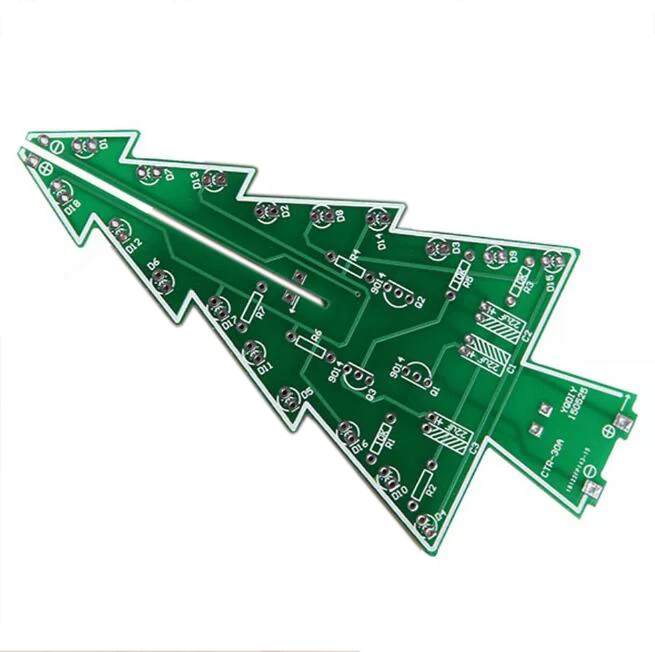
2. The recommended welding sequence is to weld the components of the bottom plate first, and then weld the resistance of the A and B lamp boards-LED-triode-electrolytic capacitor. The LED on the top of the A board is assembled and then soldered.
3. The resistance value should correspond to the one marked on the board.
4. Pay attention to the positive and negative poles of the LED lamp, and the long pin is the positive pole, and the welding time of the LED lamp should be as short as possible to avoid burning the LED.
5. Insert the triode according to the shape on the board.
6. Pay attention to the positive and negative poles of the electrolytic capacitor, the long pin is the positive pole.
7. After welding a light board, you can first connect the positive and negative poles under the board with a 5V power supply, test it to check if the light is not on, if a light is not on, check the welding and the damage of the lamp and replace it. If the 6 lights connected in parallel together with the schematic diagram do not light up, check the welding short-circuit phenomenon of these 6 lights. If they are not lighted, check the welding short-circuit, virtual welding, and poor power connection of the entire circuit.
8. When assembling the light board and the bottom plate, pay attention to the positive and negative poles of the light board and the bottom plate to correspond one by one. It is difficult to disassemble if it is wrong.